
Usually when setting up DNS, you point your domain and the www subdomain to the same address. Meaning, the same website will be accessed on both non-www and www version.
This can cause issues in some web apps such as SEO problems. Crawlers identify non-www and www version of the website as different website, but with the same content. Google and similar search engines gives penalty for duplicate content.
This can be usually be fixed by adding <link rel="canonical" href="" /> on your website so that search engines know the original source.
Another problem that I have encountered when dealing with both non-www and www version is that web app sessions don’t persist at the same time. Meaning you can be logged in on www version but not the other and vice versa.
Personally I prefer the www version of my website, that I redirect users from non-www version to www version.
Step 1: Login to your Cloudflare account.
Head over to the official website of Cloudflare and click Log In in the top menu.
Enter your credentials and you should be redirected to your dashboard.
Step 2: Select the website you want to force www.
On your dashboard, it should list all registered domains on your Cloudflare account.
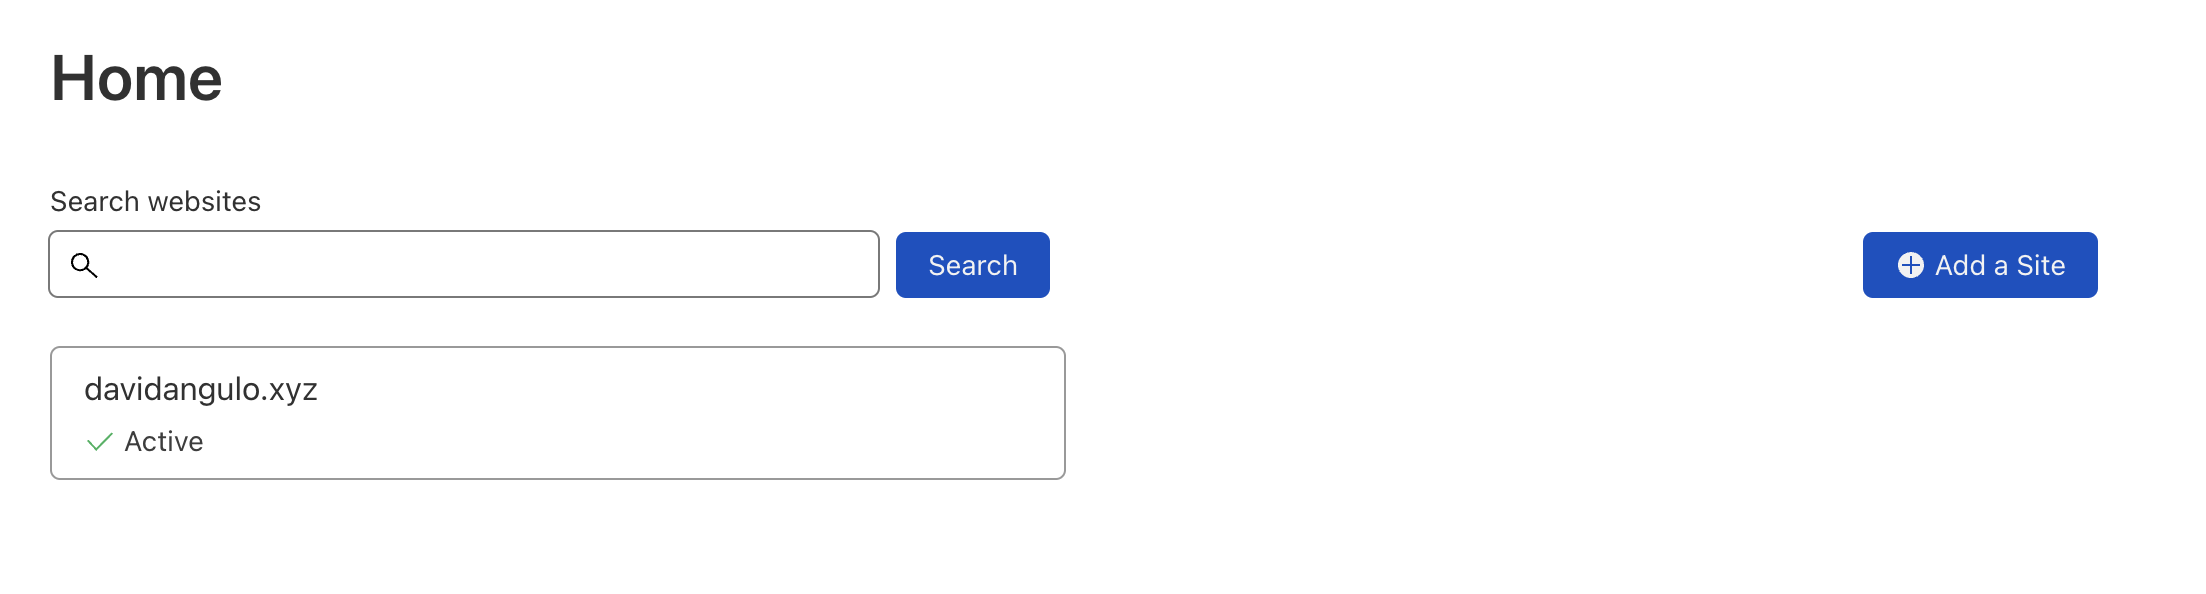 Picture 2.1. Cloudflare Dashboard
Step 3: Set up a Page Rule.
On your left menu, click Rules, under it, click Page Rules.
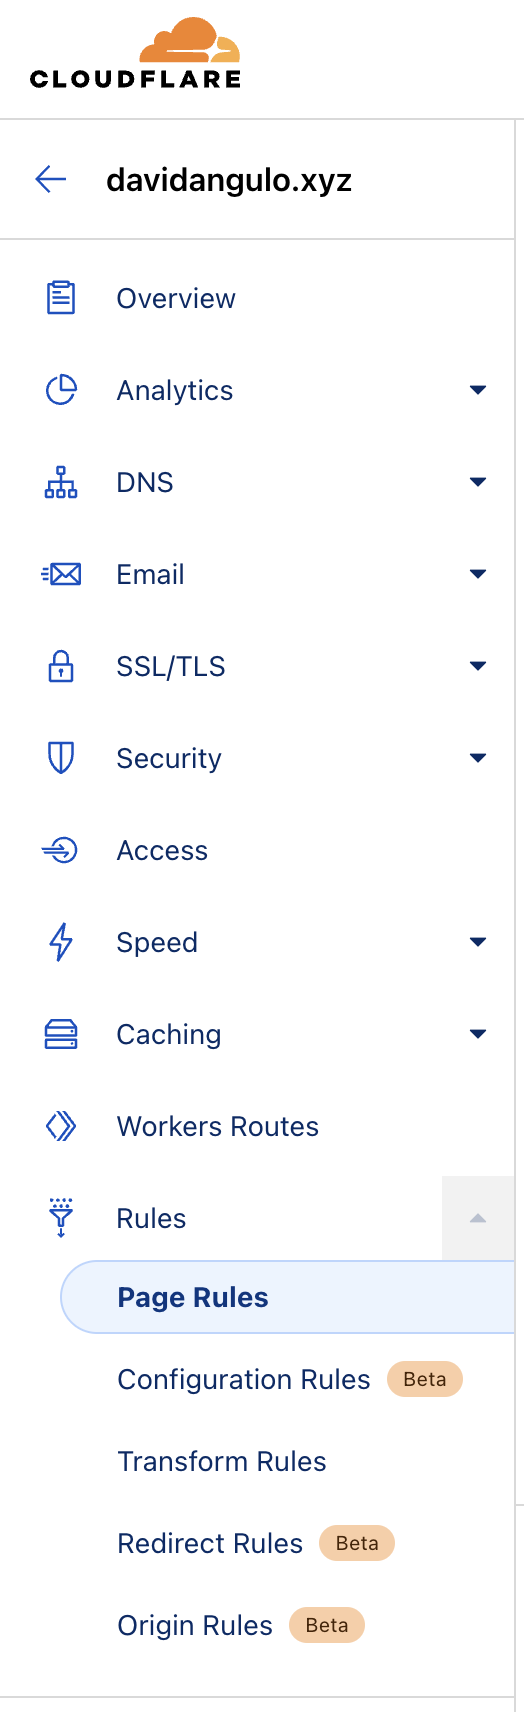 Picture 3.1. Cloudflare Left Menu
On that page, click Create Page Rule button.
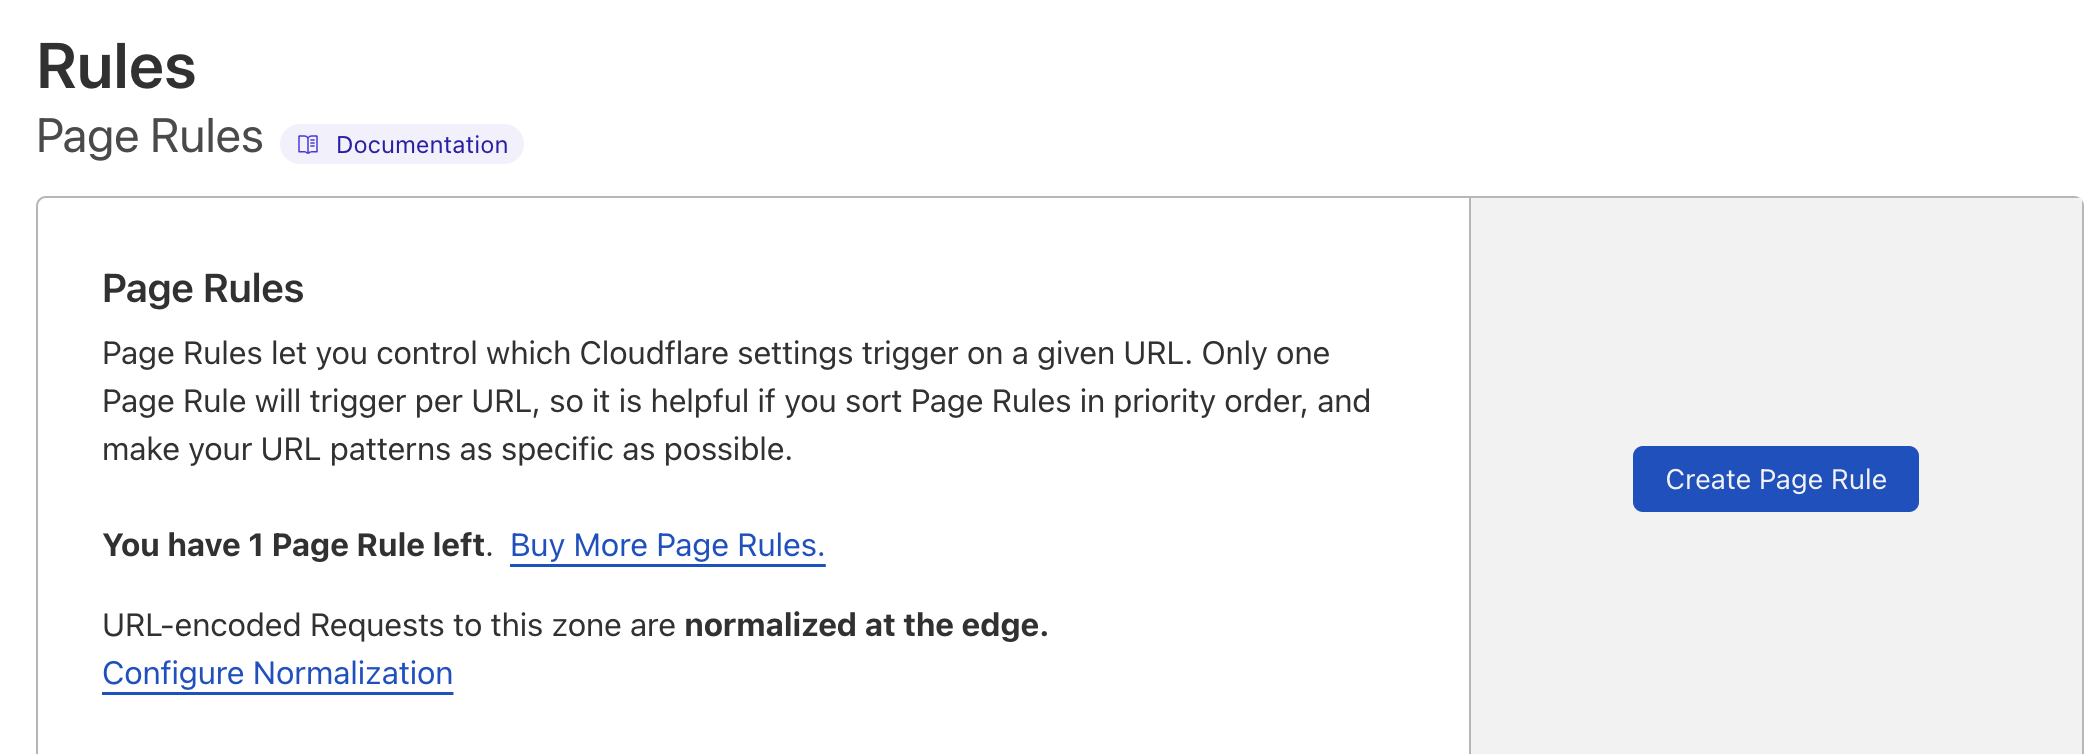 Picture 3.2. Cloudflare Page Rule
On the URL (required) field input your domain like this:
1
https://davidangulo.xyz/*
We use * to match all content of our website. The end * matches different pages on my website.
Just change davidangulo.xyz with your own domain name, also https to http if your website does not have an SSL certificate. However, I recommend getting an SSL certificate first by following How to get free SSL certificate from Cloudflare.
Then for Pick a Setting (required) field, select Forwarding URL.
For Select status code (required) field, select 301 - Permanent Redirect, you can also use 302 if it’s only temporary.
For Enter destination URL (required) field:
1
https://www.davidangulo.xyz/$1
$1 represents the data that we get when using *. If * has a value of /posts/some-post then $1 will also have the same value.
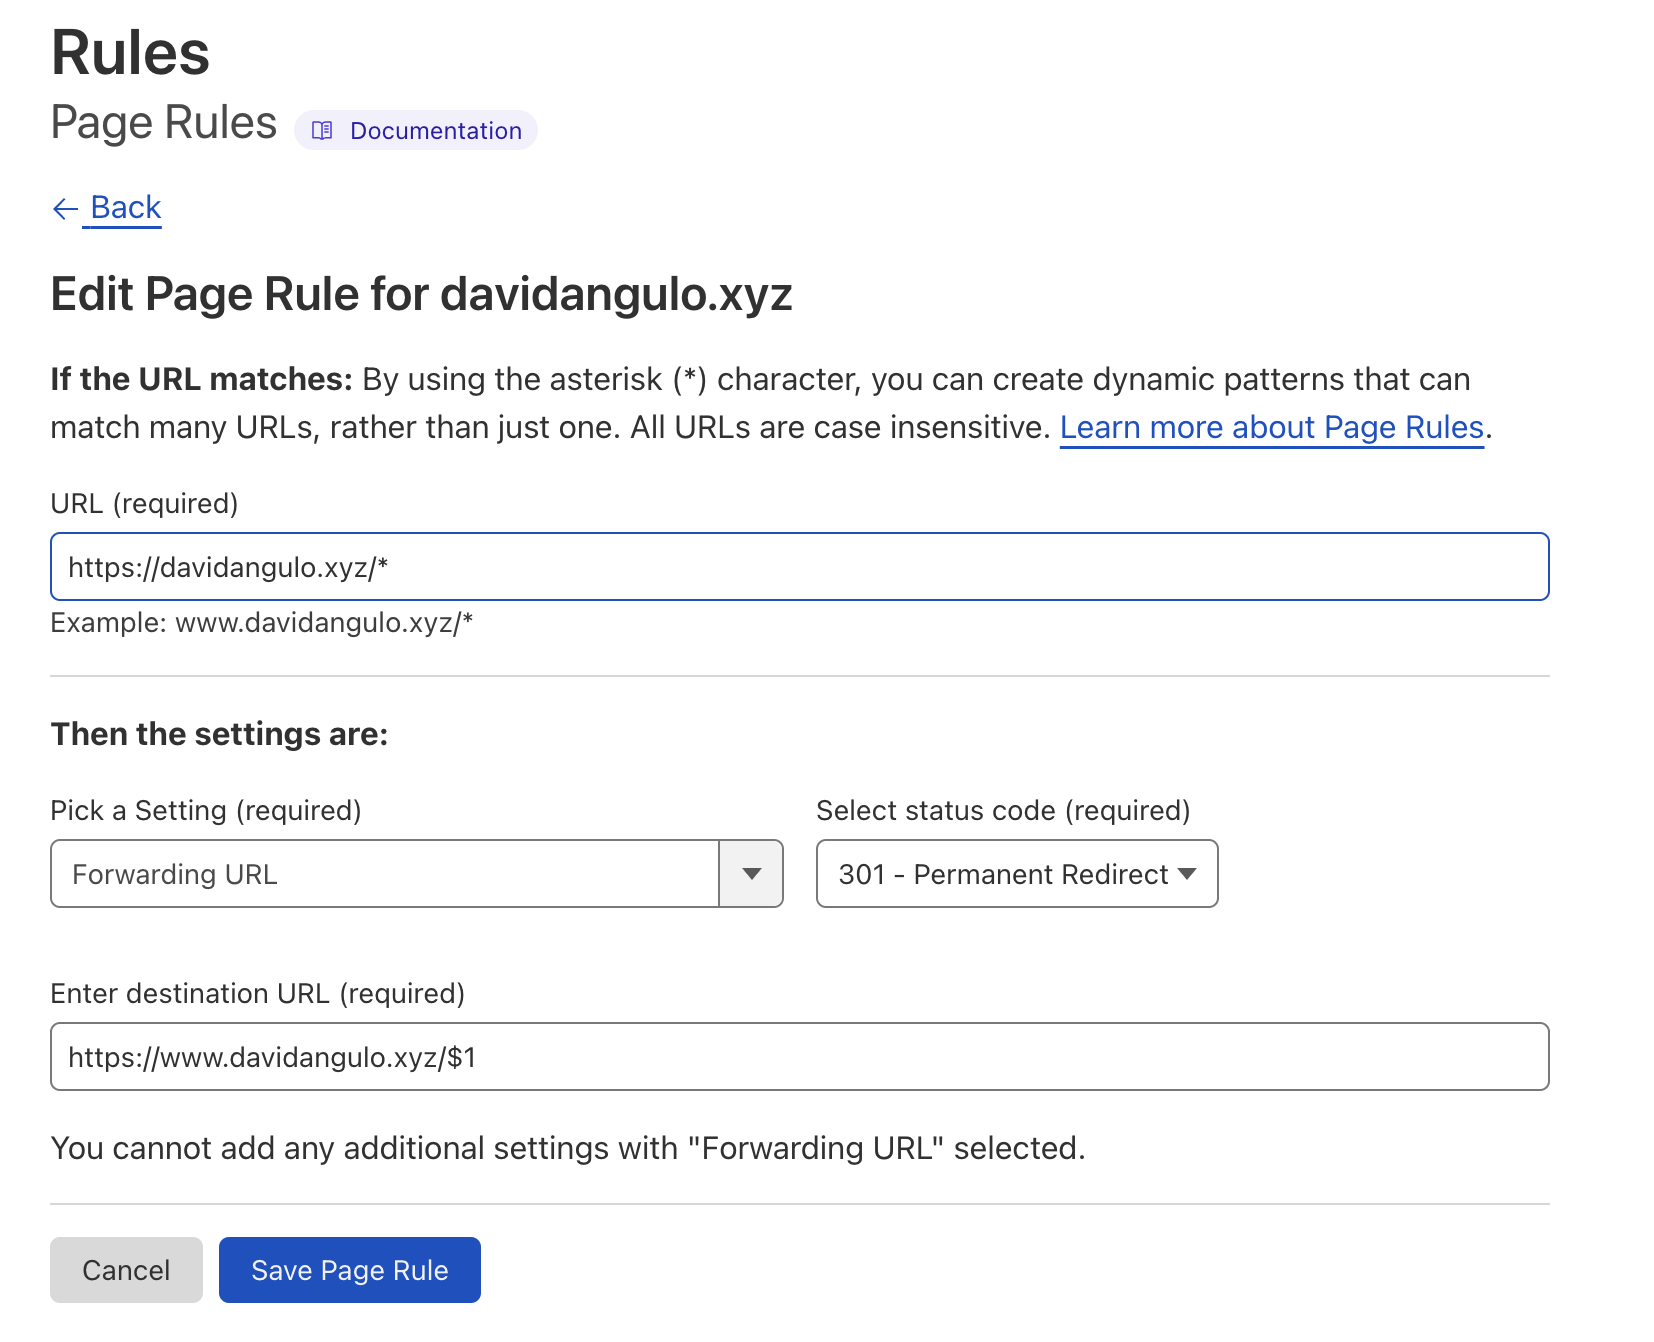 Picture 3.3. Cloudflare Page Rule
To finalize, click Save Page Rule.
After a few minutes try accessing your website, and it should now be redirected to www version if it’s accessed on a non-www version.
Note
If you have an Always Use HTTPS rule, you might want to put Forwarding URL rule under it. So that it redirects to the https version first and then redirect to www version.
If you don’t have an SSL certificate you might want to read How to get free SSL certificate from Cloudflare and Force HTTPS website in Cloudflare.